Works With:
-
Devices: All remote.it-compatible devices running an SSH server.
-
Clients: Third-Party SSH applications such as PuTTY or SSH Secure Shell, and SCP applications such as WinSCP, and SFTP applications such as FileZilla.
Create a remote.it SSH Service
Make sure that you have created a remote.it account and installed the remote.it Device Package on your device and configured a remote.it SSH Service on port 22.
Connect to your remote.it SSH Service
Making Connections with the Desktop App
Using remote.it with PuTTY for a secure remote terminal
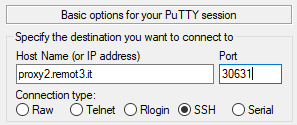
Launch PuTTY, then copy the hostname and port values to their corresponding locations in the connection dialog. Make sure that the SSH protocol is selected. Other SSH terminal applications will have similar fields. A proxy address is shown here but peer to peer connections can also be used.
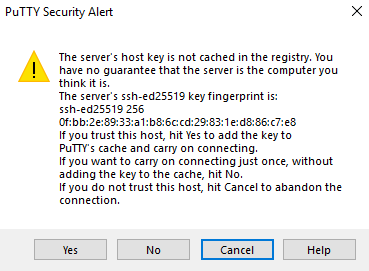
Click on “Open” to establish the connection. You will probably see this SSH Security Alert, which is normal. If you are using a peer-to-peer connection, click on "Yes" so that this warning will not be seen again. If you're using a proxy connection, click on "No". Since proxy connections change, there is no benefit to storing the key in the cache.
Click on “Yes” to proceed. Now you can log in by entering the device's SSH credentials.
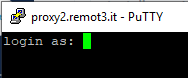
You are now connected to your device and can run commands in the terminal window, just as if you were sitting right next to it.
Using remote.it with FileZilla for file management and transfer on macOS, Linux and Windows
Download and install the FileZilla application.
Open the FileZilla application and note the QuickConnect bar near the top:

Fill out the 4 fields in the Quickconnect bar. Username and Password are the SSH login credentials for the target device, not your remote.it account.
Note: you have to preface the hostname with "sftp://" as shown.

When you connect, you will see the following warning:
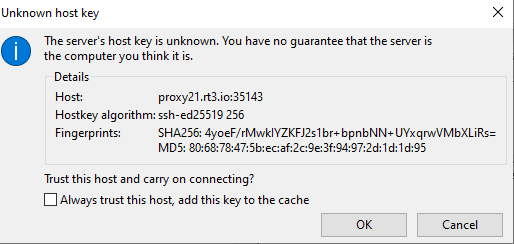
To connect, just click on OK. If you are using the Desktop or command line approach to create a P2P connection, you can also check the "Always trust this host..." option, which will prevent this warning from appearing again the next time you connect (as long as you use the same port). Since the proxy addresses and ports from connections made through the web portal will change, you should not select the "Always trust this host..." checkbox when using a proxy connection to prevent unneeded entries being added in your known hosts file.
Using remote.it with WinSCP for file management and transfer on Windows
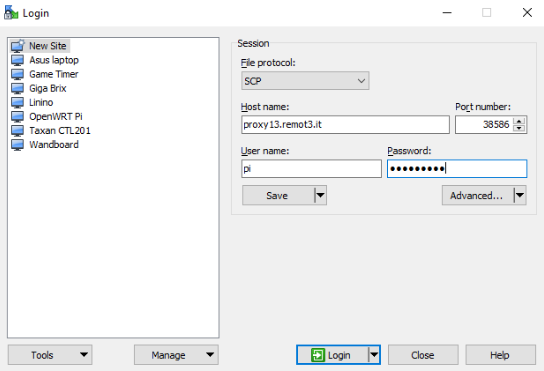
WinSCP is another popular secure file manager and transfer utility for Windows. Copy the Host name and Port values from the remote.it SSH connection dialog to WinSCP’s connection screen and select “SCP” as the file protocol. Click on “Login” to connect.
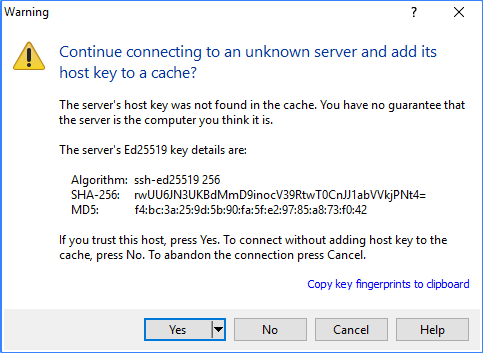
As with PuTTY, you be warned that there is not a key cached for this address. Select “Yes” to complete the connection.
Now you can manage your remote and local files easily.
